

 Cover image via jujuhaidah / Blogspot
Growing up, one of our favourite subjects in school has got to be Pendidikan Seni. Why? It's the only class where you get to mess around with crayons, coloured paper, and your crafty imagination without getting into trouble!
Besides, any class that doesn't involve listening to your teacher drone on and on or copying stuff off the blackboard is already a win.
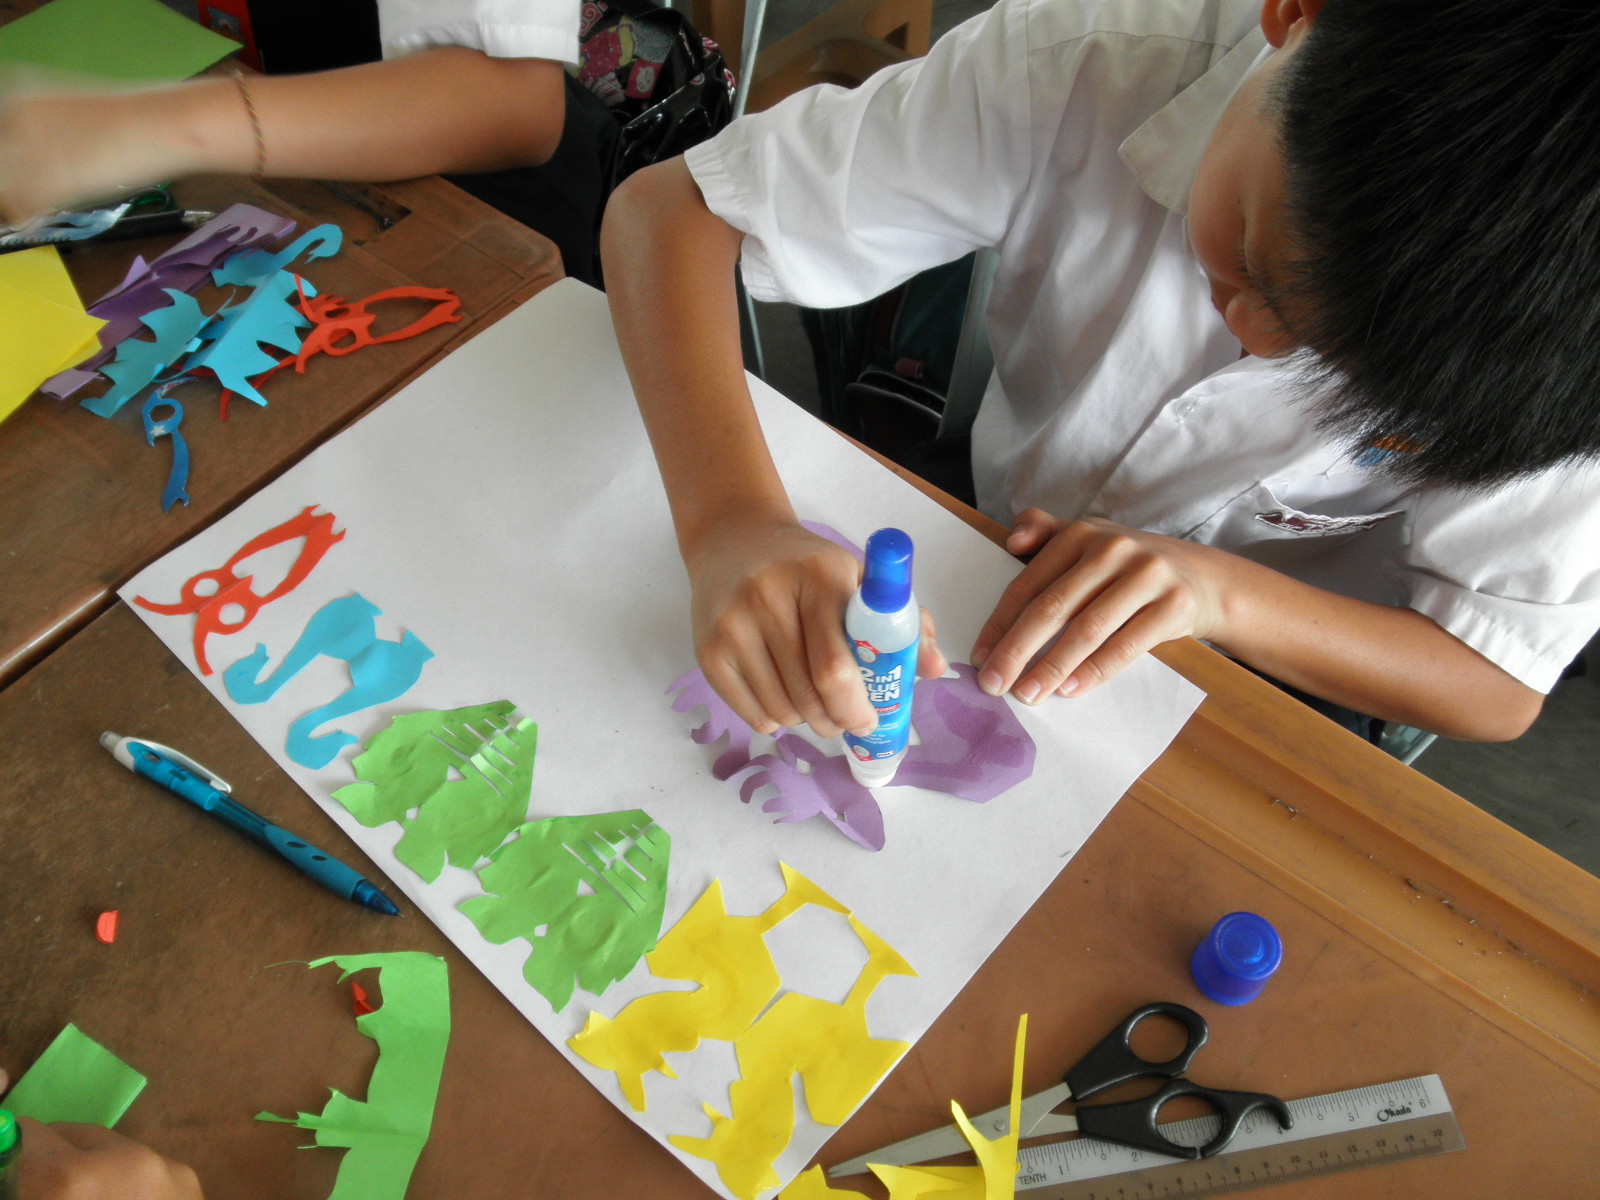
Image via Tnee Li Hong / Blogspot
Regardless of whether or not you have artistic talent, doing these Seni projects were still a lot of fun:
1. Straw blown paintings
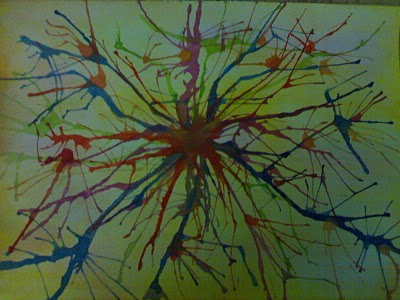
Image via Arzreen / Blogspot
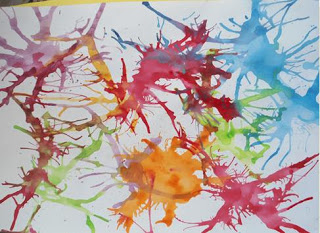
Image via missnurhayati / Blogspot
**The Art Process:** Sprinkle some watercolour on the paper and start blowing them all over with a straw. Repeat with other colours.
2. Butterfly fold-overs
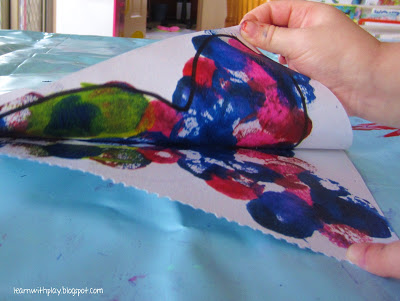
Image via Learn with Play at Home

Image via The Atelier Studio
**The Art Process:** Strategically drop a few blobs of acrylic paint on drawing paper. Fold it in half, open it up, and voila, a butterfly! Or Rorschach test, your pick.
3. Okra printing
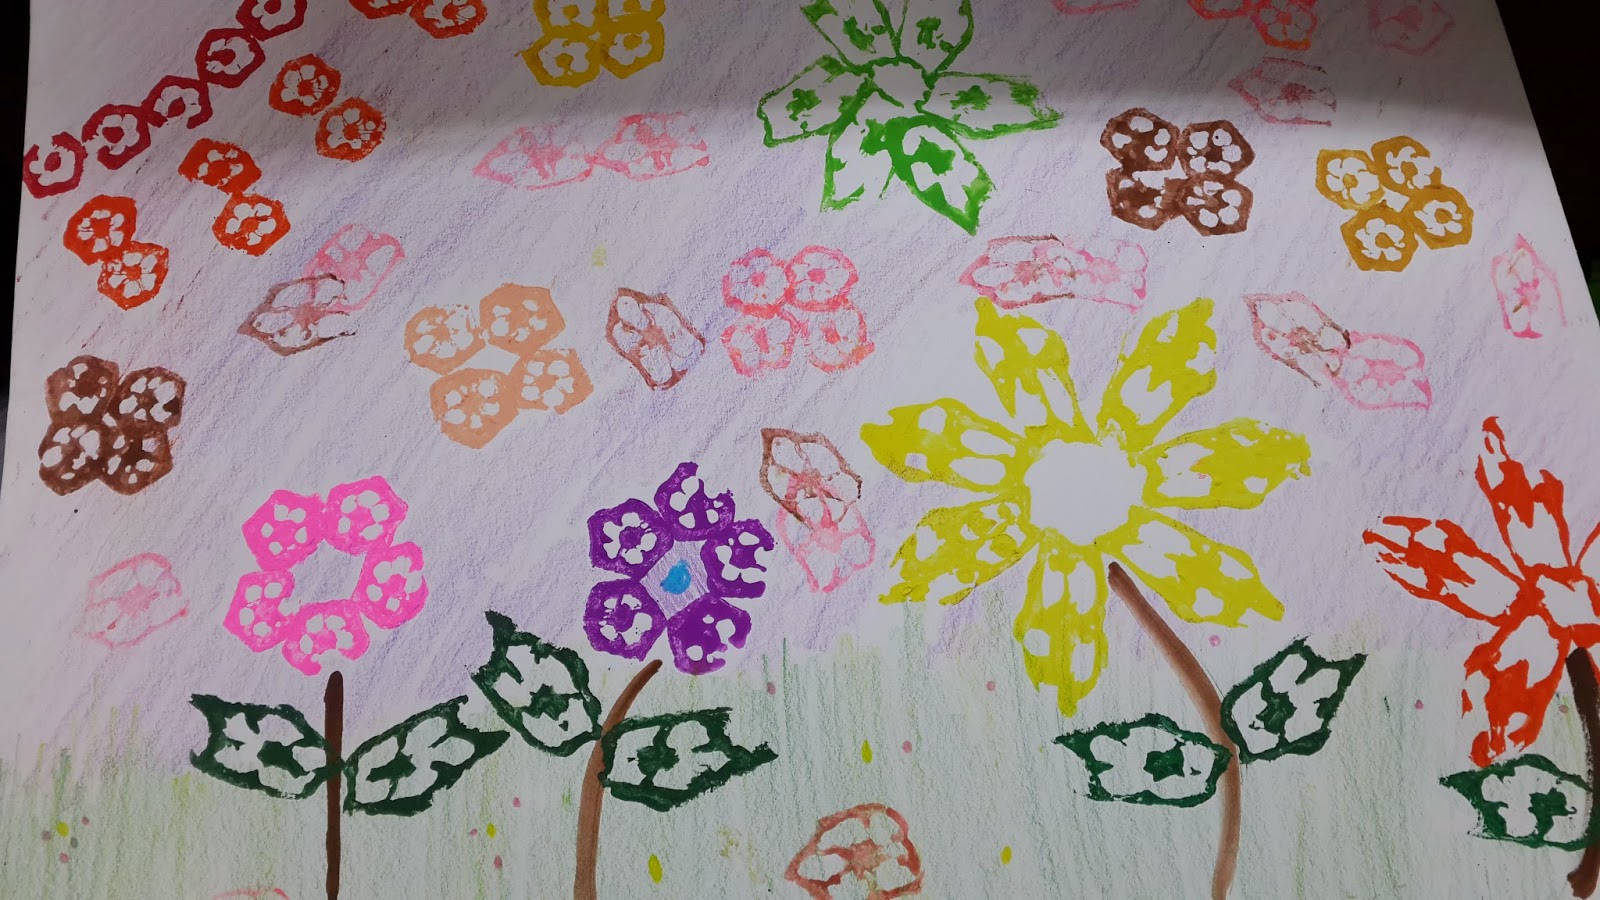
Image via jujuhaidah / Blogspot
**The Art Process:** Cut okra(s), dip cross-section of okra into watercolour of your choice, and… get creative. 😀
4. Potato stamping

Image via Arzreen / Blogspot
**The Art Process:** Cut potato(es) into half and get your parents to carve desired pattern (because knives are dangerous and not child-friendly). Dip carved potato into watercolour of your choice… and stamp away. 😀
5. Finger painting
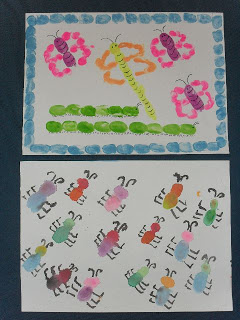
Image via Goay Mey Hooi / Blogspot
**The Art Process:** Dip finger(s) into watercolour and stamp whatever you want onto the drawing paper.
6. Coin-tracing art
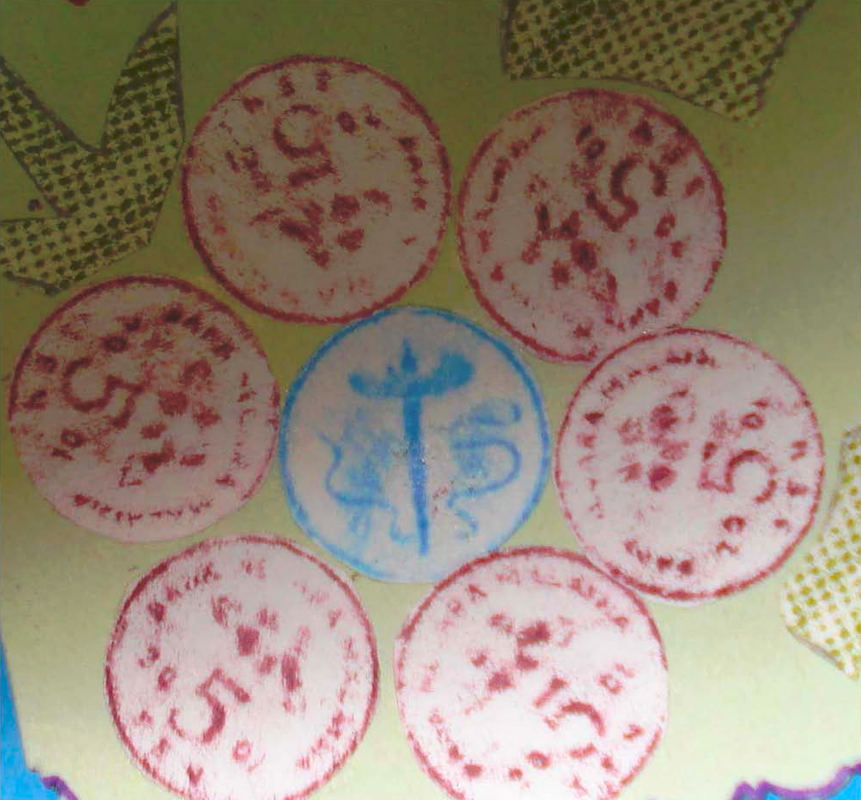
Image via cutelikebee / Blogspot
**The Art Process:** Put coin underneath paper and colour over it. Repeat until satisfied and with different coins if desired.
7. Mozek a.k.a. filling in pretty shapes with pieces of coloured paper
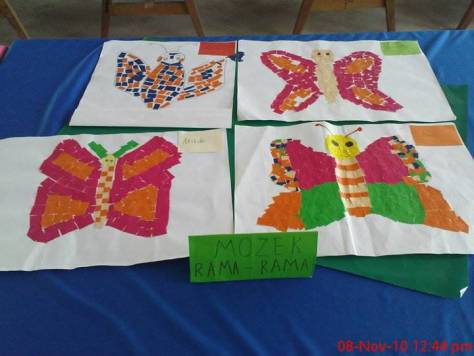
Image via SK Kota Aur WordPress

Image via Mohamad Faizal B. Ibrahim / Blogspot
**The Art Process:** Draw desired design on paper (e.g. butterfly, flower, etc.). Cut up coloured paper into tiny pieces, then stick them onto paper according to your drawing.
8. Seni gunting kertas a.k.a. folding coloured paper multiple times and then cutting them up to make pretty designs
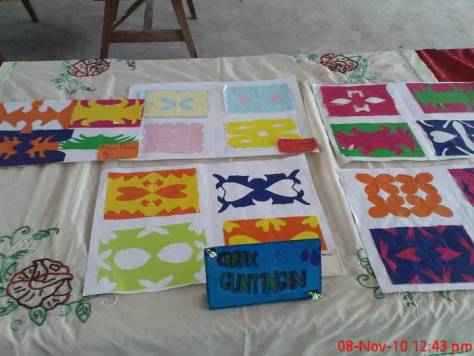
Image via SK Kota Aur WordPress
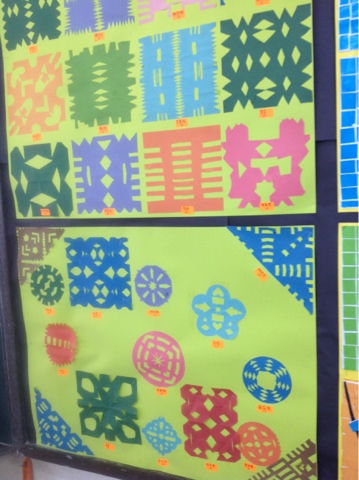
Image via Raihan Jalaludin / Blogspot
**The Art Process:** Fold coloured paper of your choice in half a few times, then cut random shapes on the edges. Don't overthink it, it'll look nice when you open it up.
9. Anyaman a.k.a paper weaving
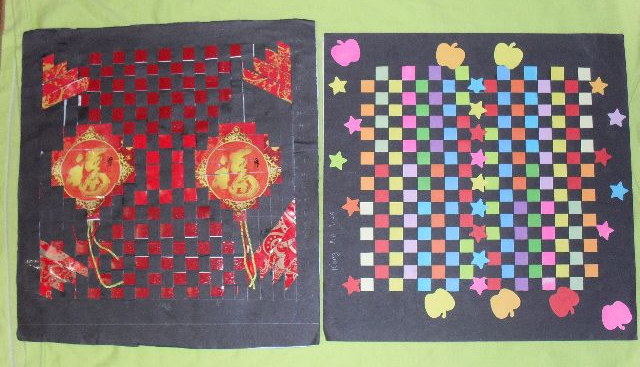
Image via Goay Mey Hooi / Blogspot
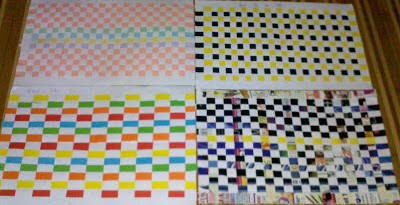
Image via jujuhaidah / Blogspot
**The Art Process:** Fold drawing paper in half, and cut 1cm-wide strips across (but not 'til the end of the paper, leave at least 2cm of the edges untouched). Cut coloured paper into 1cm strips. String them through drawing paper, in and out.
10. Gurisan a.k.a. that thing where you draw stuff by scraping crayon off with a satay stick
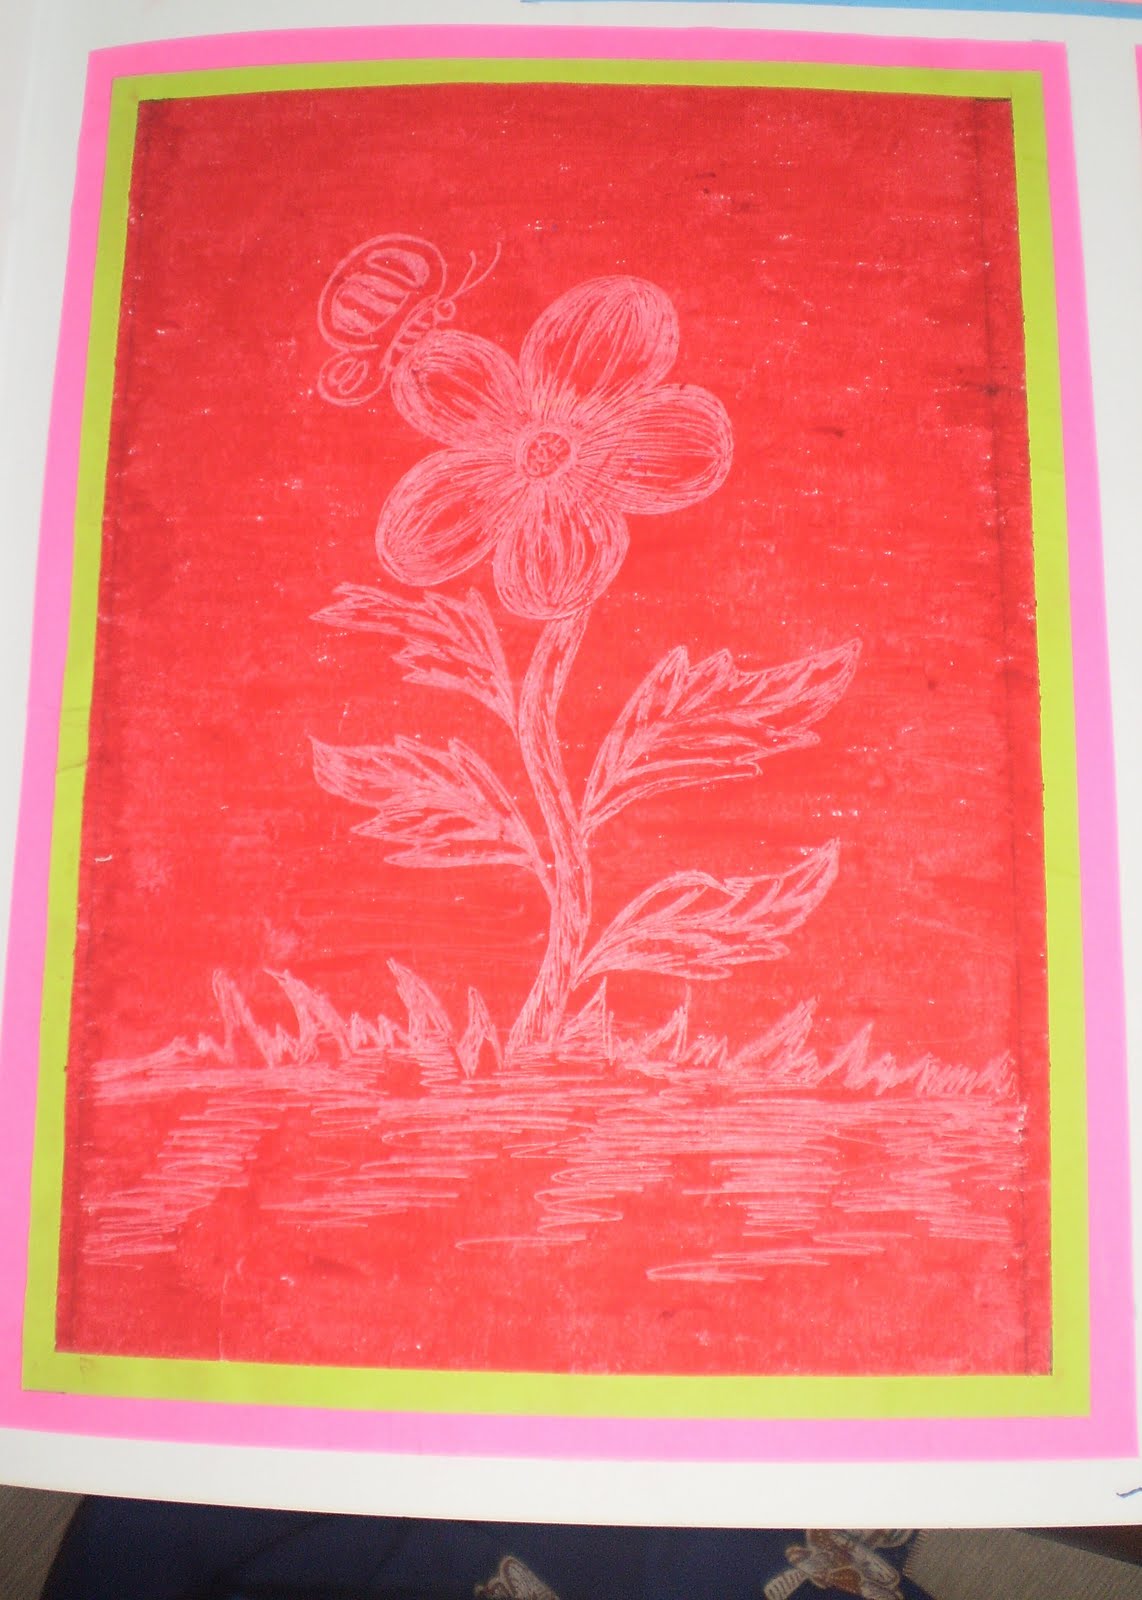
Image via Sferaseni / Blogspot

Image via SK Paka III / Blogspot
**The Art Process:** Colour over drawing paper with crayon(s) of your choice (yes, you can have as many colours as you want, just try not to layer them over each other). Apply second layer of crayon (only one colour, usually black). Draw whatever you want with a satay stick.
11. Hand-drawn flag of Malaysia
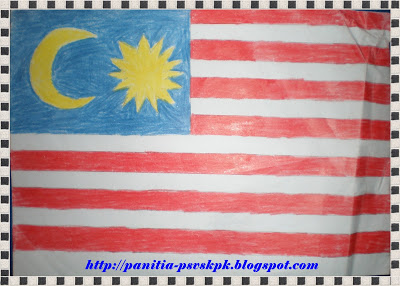
Image via Panitia-PSVSKPK / Blogspot
**The Art Process:** Draw the Jalur Gemilang (it's okay, no one gets the moon and star perfectly right). Colour accordingly.
12. "Poster Hari Kemerdekaan"
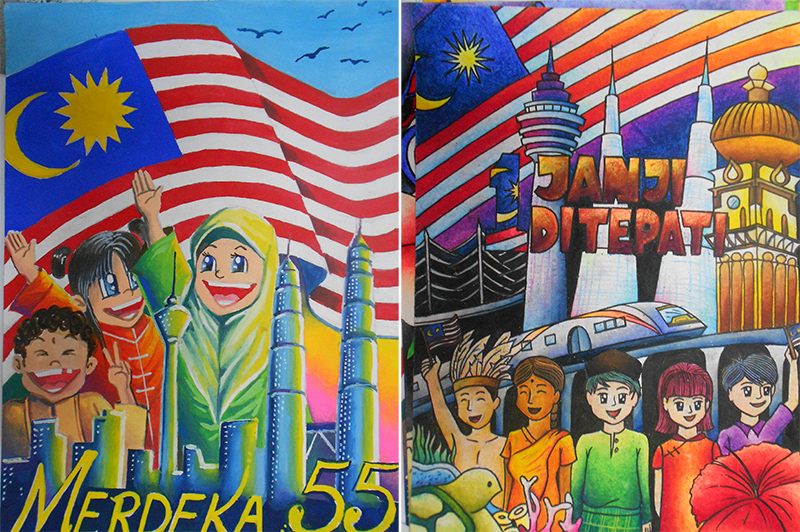
Image via SMK Tinggi Sarikei
**The Art Process:** Draw poster – include slogan, multiracial cast, and landmarks as desired. Colour.
13. "Buah-buahan tempatan"
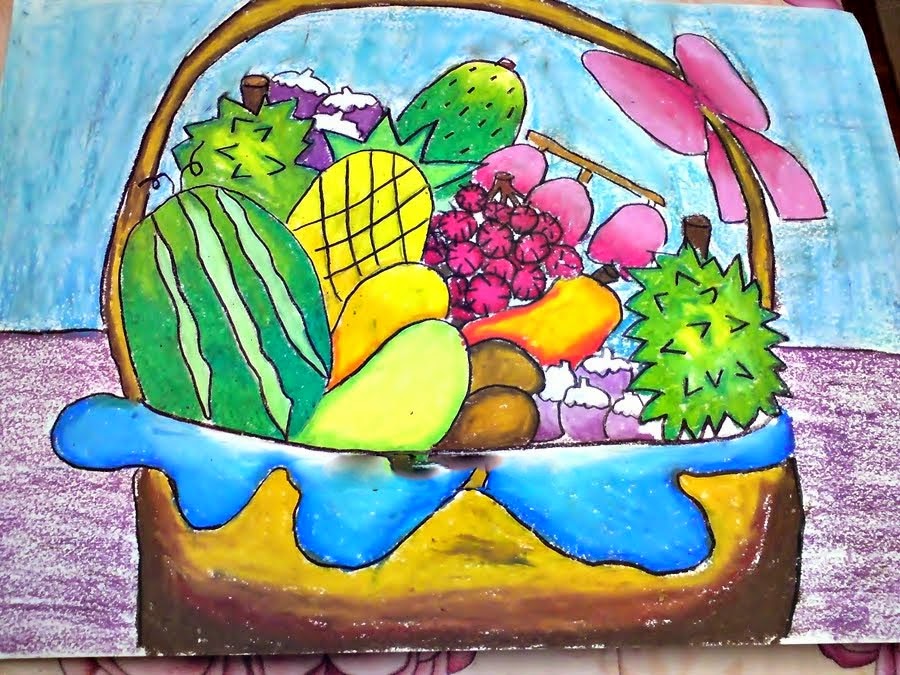
Image via senivisual2014
**The Art Process:** Draw local fruits (NO oranges, grapes, or apples), *bakul* optional. Colour.
14. "Rumah idamanku"
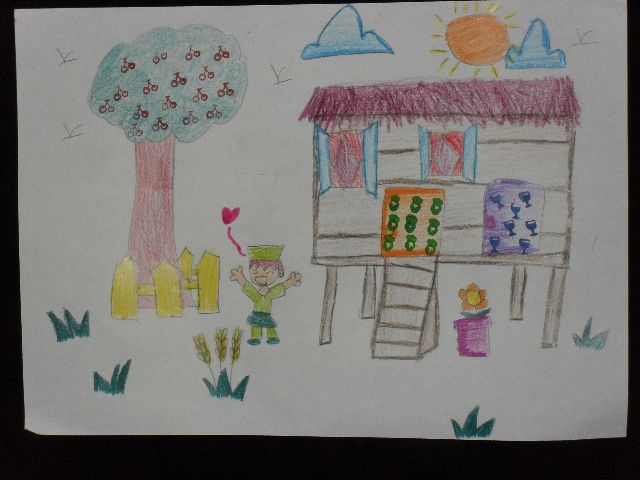
Image via Goay Mey Hooi / Blogspot
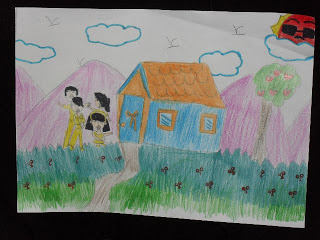
Image via Goay Mey Hooi / Blogspot
**The Art Process:** Draw your dream house (go crazy, you can have a hot tub AND three butlers if you wish to). Colour.
15. Paper masks
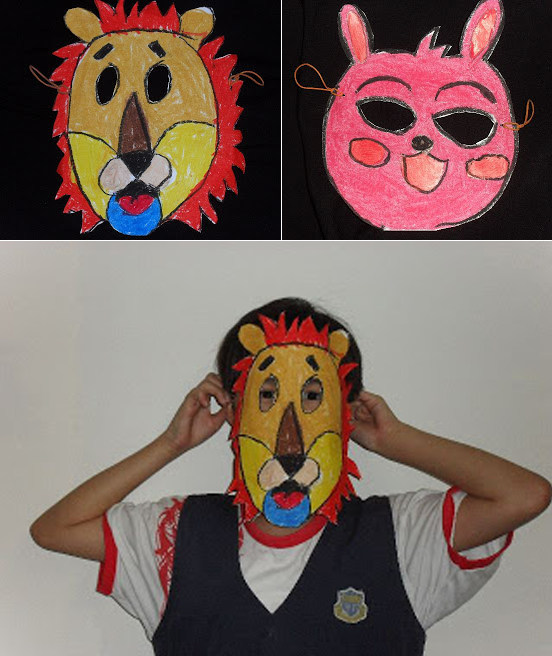
Image via Goay Mey Hooi / Blogspot
**The Art Process:** Draw design of your choice on drawing paper – make sure it's big enough to cover your face – and colour. Punch a hole level to your ear, string a rubber band through each hole, and voila, a wearable paper mask!
16. Paper lanterns

Image via istimewapkbpsmkso / Blogspot

Image via samchaihsia / Blogspot
**The Art Process:** Create cylinder from manila card. Fold another piece of manila card in half and cut strips (1cm to 2cm wide) across, but not 'til the edge (leave about 2cm untouched). Attach one end to the top of the cyclinder and the other to the bottom with glue or stapler, making sure that it creates a "blooming effect", then attach holder to the sides.
17. Wau lidi. Okay fine, it's more like layang-layang lidi.

Image via Ilmu Pendidik Blogspot

Image via praskus / Blogspot
**The Art Process:** Make kite base with *lidi* shaped into a cross. Draw kite, cut it out, and attach to base. Decorate as desired. Capability to fly not guaranteed.
18. Making houses with toothpicks, wooden chopsticks, or wooden pegs
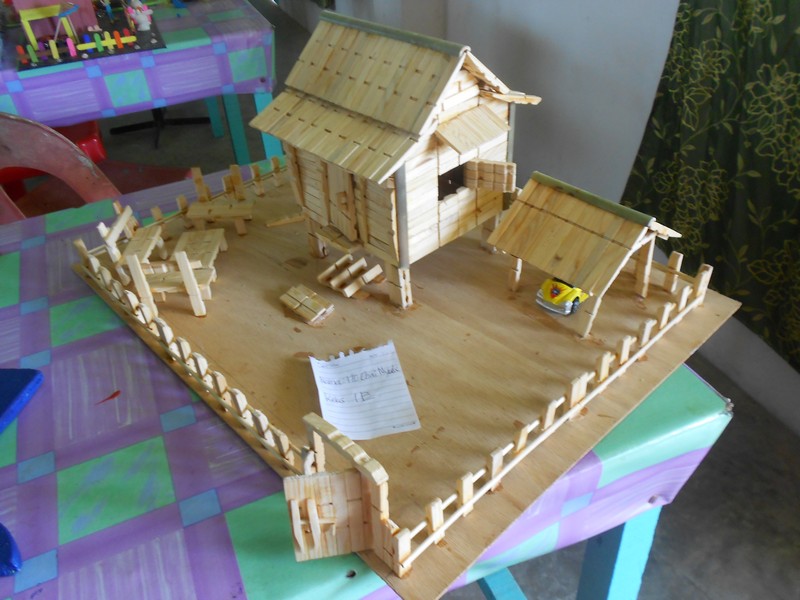
Image via SMK Tinggi Sarikei

Image via muhammad syazwan YouTube
19. Mobiles, usually with paper fish or origami paper cranes

Image via Arzreen / Blogspot
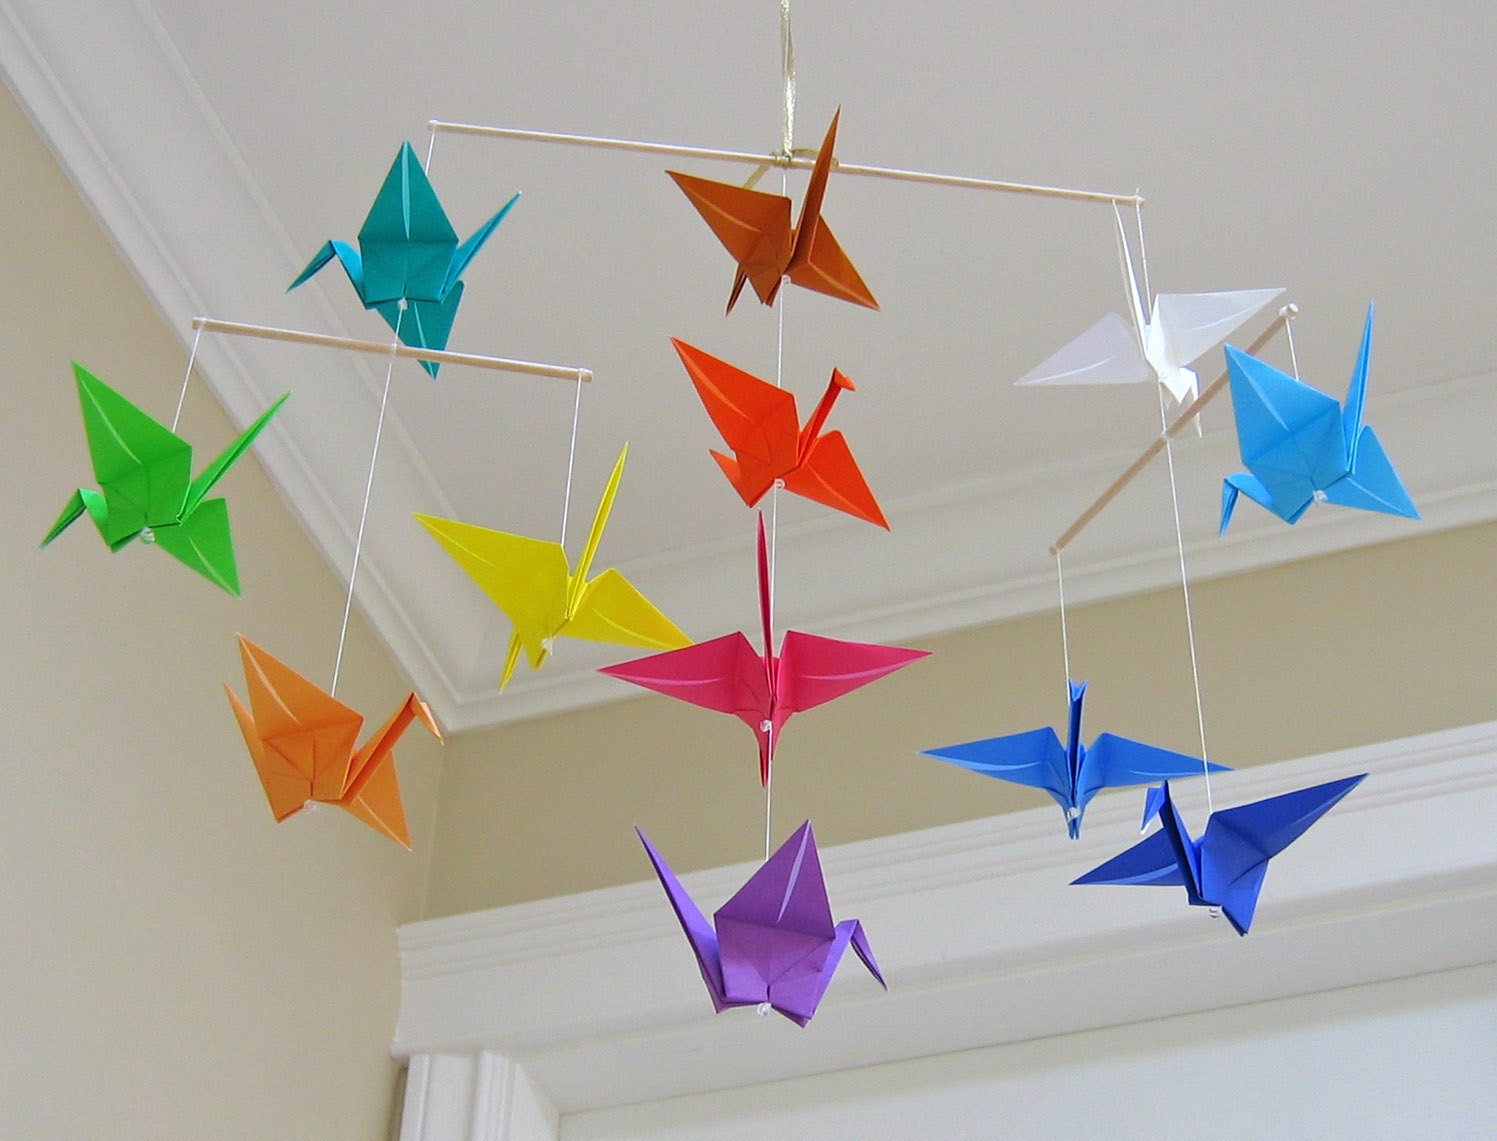
Image via Etsy
**The Art Process:** First, make your paper sculptures (blown-up paper fish, frilly octopi, origami cranes etc.). Construct your base with *lidi*, satay sticks, or wire, then attach your paper sculptures to the base with string.
20. Plasticine sculptures
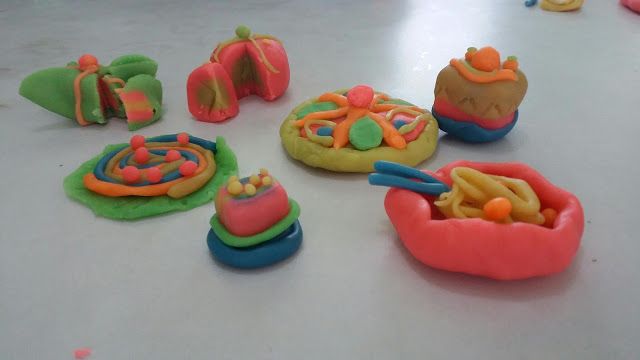
Image via kulinerwawaydkk / Blogspot
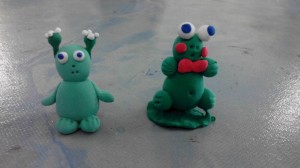
Image via Persatuan Pendidikan Seni Visual
**The Art Process:** Break off plasticine and shape as desired. Don't mix two together, it'll all turn grey and there's no turning back.
21. Batik painting
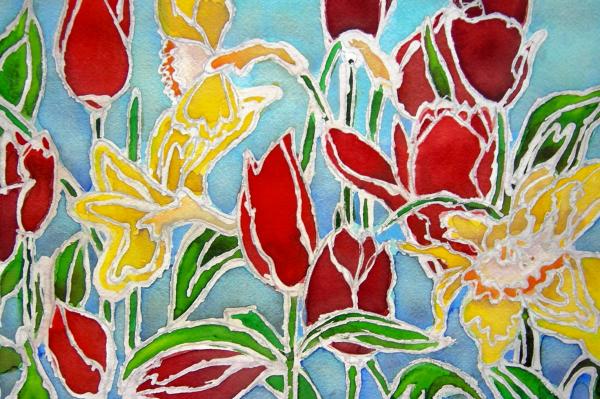
Image via Arzreen / Blogspot

Image via Mohamad Faizal B. Ibrahim / Blogspot
**The Art Process:** Draw designs of your choice, then trace the lines with a white candle. Fill in with water colour (note that the colour is not suppose to stick where you've traced with wax).